
Mastering Leatherworking Techniques: A Guide for Beginners and Pros
Mastering Leatherworking Techniques: A Guide for Beginners and Pros
Leatherworking is a timeless craft that combines artistry, skill, and precision. Whether you're a beginner exploring a new hobby or a seasoned artisan perfecting your craft, understanding key leatherworking techniques can elevate your creations and make your work stand out. In this article, we’ll cover the most essential techniques and tips for leatherworking.
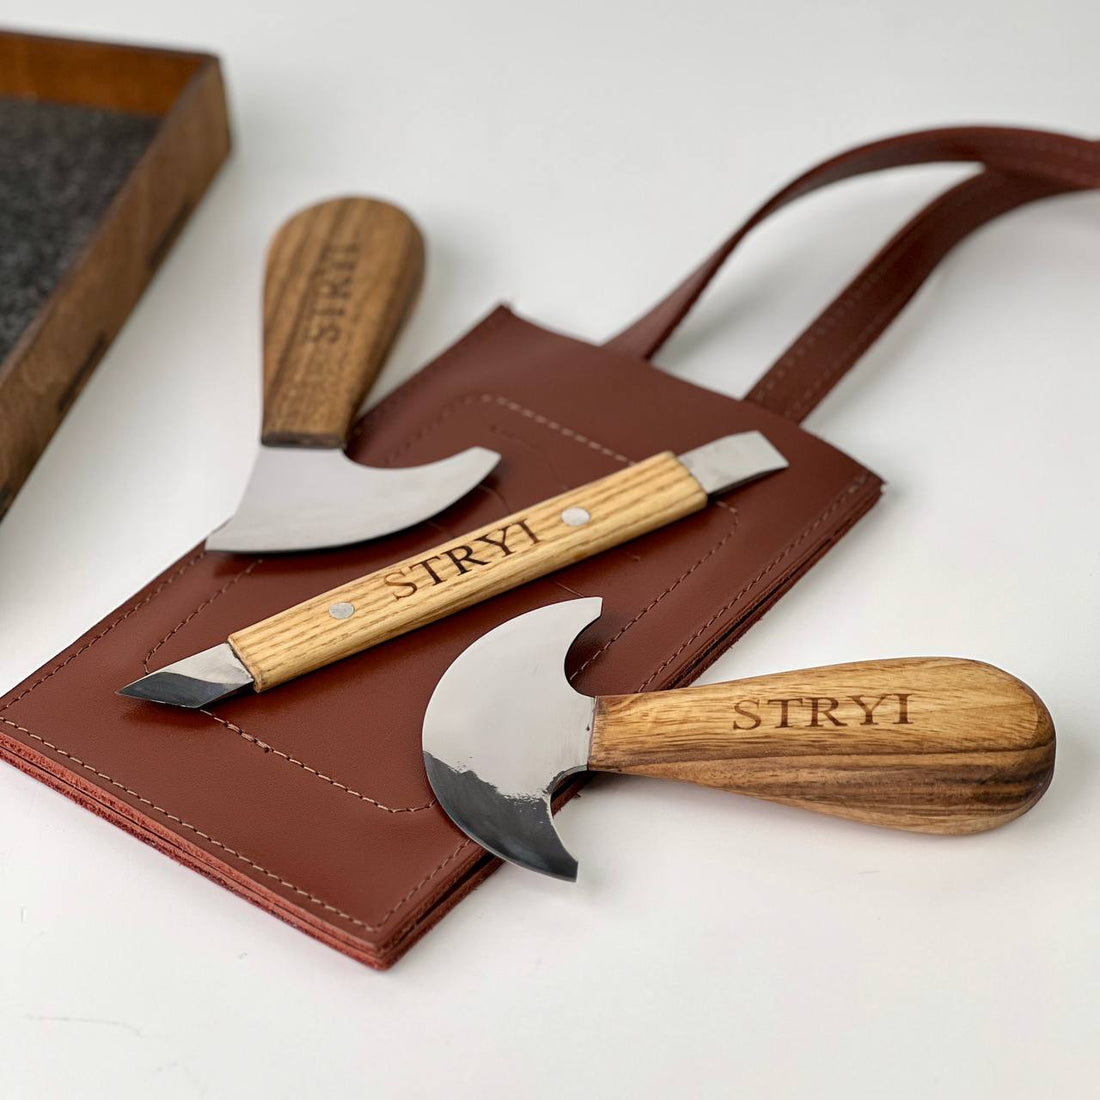
1. Cutting Leather
One of the first skills to master in leatherworking is cutting. Precision is critical when working with leather, as clean edges can make or break the final look of your project.
- Tools Needed: Utility knife, rotary cutter, or specialized leather shears.
- Tips: Use a self-healing cutting mat to protect your surfaces, and ensure your blades are always sharp to avoid jagged edges.


2. Punching Holes
Holes are essential for stitching or adding hardware like rivets and snaps. The right tools and technique can ensure clean, precise holes that don’t weaken the leather.
- Tools Needed: Rotary punch, awl, or hole punch set.
- Tips: Mark your holes with a ruler and an awl before punching to maintain consistent spacing.
3. Stitching Leather
Hand stitching is a hallmark of quality leatherwork. It’s more durable and gives a handmade feel to your creations.
- Techniques: Saddle stitching is the most popular method for leather projects.
- Tools Needed: Waxed thread, stitching needles, and a stitching pony.
- Tips: Use a pricking iron or chisel to mark stitch holes evenly, and always pull your thread tight to ensure a strong bond.
4. Edging and Burnishing
Polished edges give leather projects a professional finish. Burnishing not only enhances aesthetics but also protects the edges from wear.
- Tools Needed: Edge beveler, burnishing tool, and gum tragacanth or beeswax.
- Tips: Round the edges first with a beveler, then burnish them by rubbing with a slicker and applying a finishing agent.
5. Dying and Finishing
Adding color or a protective finish can transform plain leather into something extraordinary.
- Tools Needed: Leather dye, applicators, and finishing creams or sealants.
- Tips: Test the dye on a scrap piece of leather first, apply in thin layers, and use a sponge or cloth for even coverage. Seal your work with a finish to protect it from water and wear.
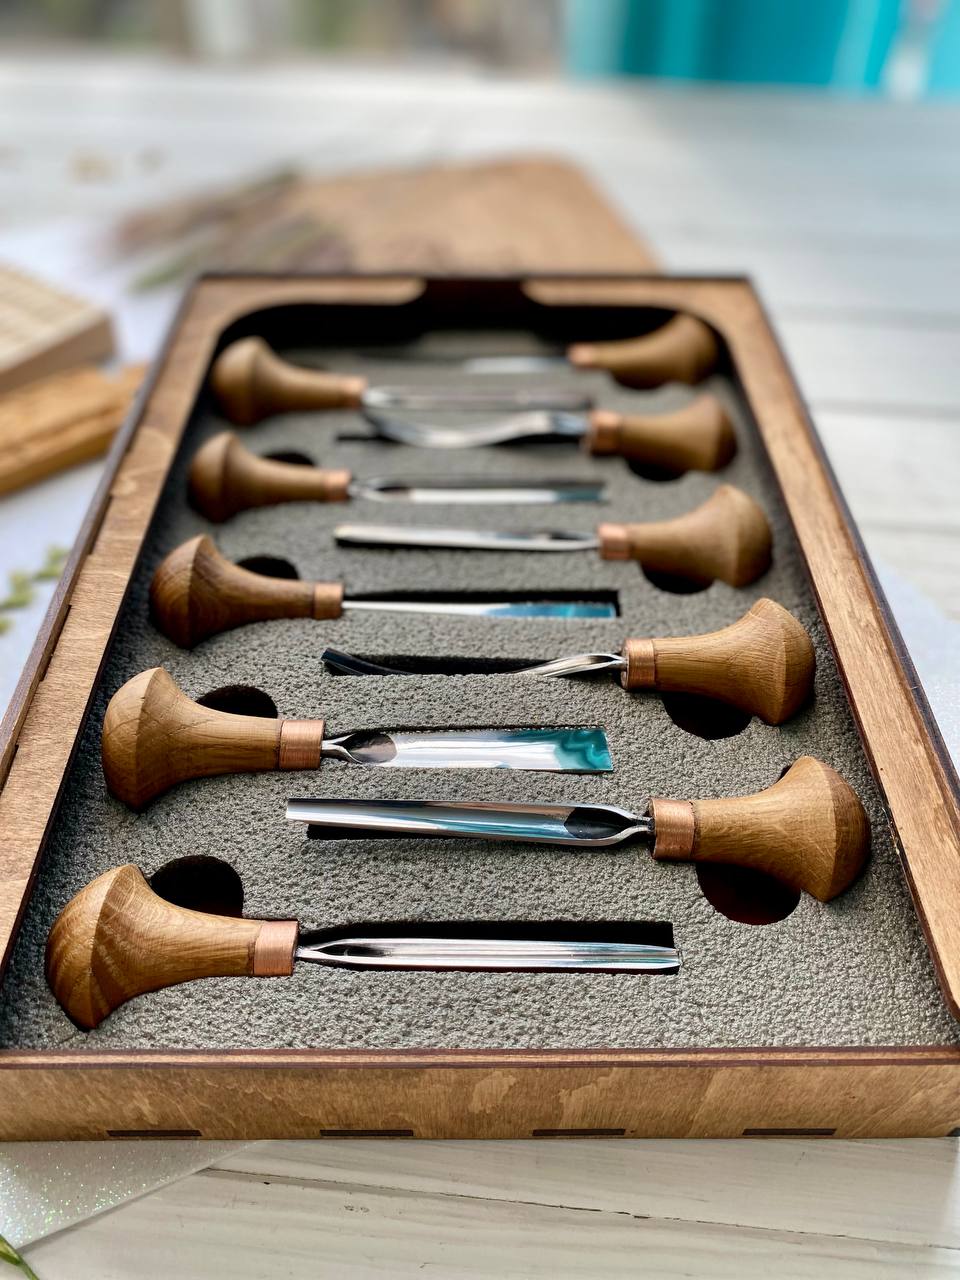
6. Tooling and Stamping
Tooling and stamping allow you to create intricate patterns and designs, giving your work a personalized touch.
- Tools Needed: Mallet, stamping tools, and swivel knife.
- Tips: Dampen the leather with water before tooling to make it more malleable. Work slowly and steadily for consistent impressions.
7. Setting Hardware
Adding hardware such as rivets, snaps, or buckles can increase the functionality and style of your project.
- Tools Needed: Setting tools and a mallet.
- Tips: Always use the correct size hardware for your project, and ensure they are securely fastened to avoid future issues.
Final Thoughts
Leatherworking is as rewarding as it is intricate. By mastering these core techniques and using the right tools, you can create durable and beautiful leather items that will last for years. Whether you’re making wallets, belts, bags, or decorative pieces, remember that practice and patience are key to honing your craft.
Are you ready to start your leatherworking journey or elevate your skills? Let us know in the comments what projects you’re working on or techniques you’d like to learn more about!